During this post I will explain steps to update / add logo in Business Central AL extensions.
Hope you have already read Business Central latest help series , if not recommended you to refer these post to enhance your knowledge on Dynamics 365 Business Central topics.
Table of Contents
How to Add Logo on Dynamics 365 Business Central AL Extension?
Business Central AL extension with logo updating is so simple and advised you to try the same from your end as well.
Following are the steps to upload or update Microsoft D 365 Business Central Extensions with logo.
Step 1 : Place the Image On Root Folder
During this step identify the Project folder path and place the Image.

Step 2 : Check the image from VS Code
During this step just verify whether you are able to view the same image from Visual Studio code interface. Although its not important but still recommended to do.

Step 3 : Update logo path in App.json file
This is one of the important steps where we are mentioning path the logo image placed.
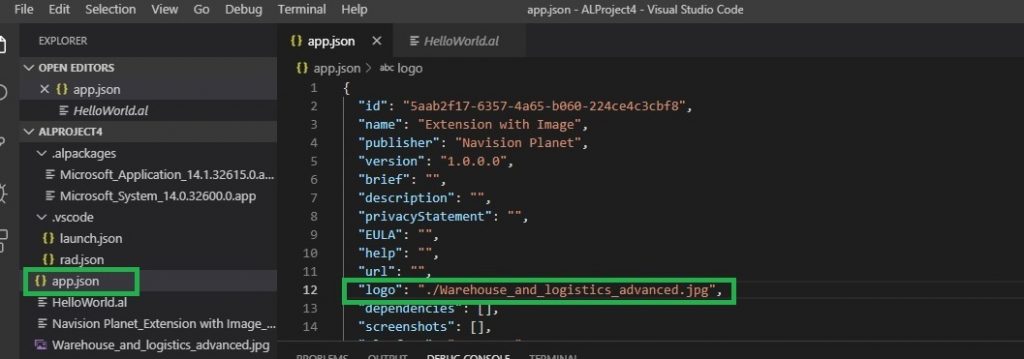
All you have to do is Open app.json file and find “logo“. Once you find the logo then enter the path like I have mentioned on following image.

During this example I have placed “./Image_File_Name” because the current image placed on the same root folder. However, if you would like to place all images on Image folder also possible. All you have to do is mentioned this path properly on logo property.
For reflecting these changes you have publish the changes to Live system.
Step 4 : Check the result on Business Central Extensions List
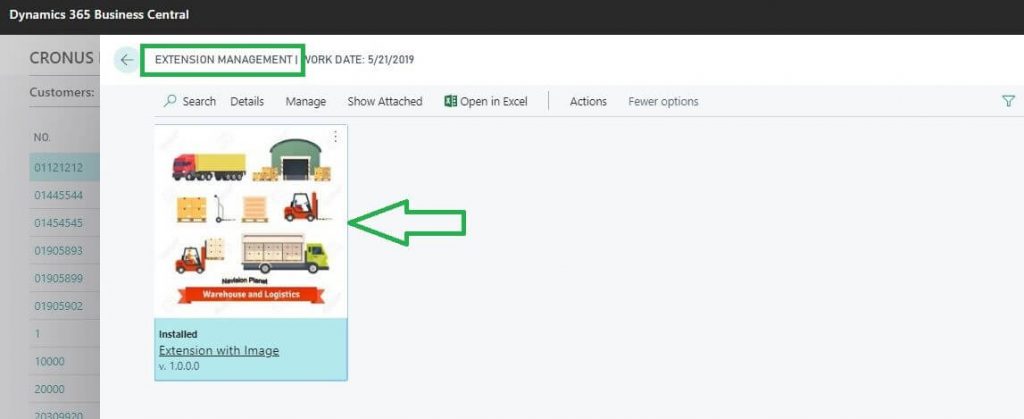
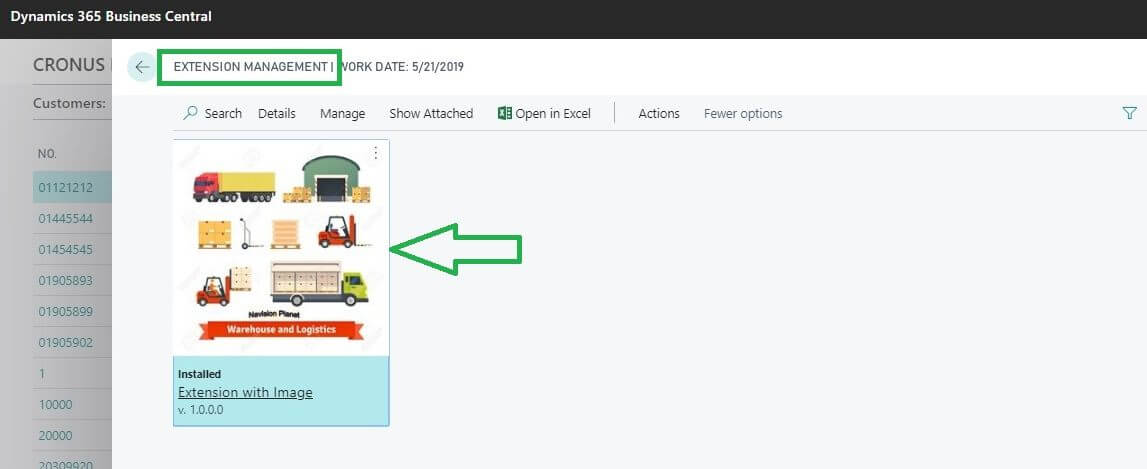
For the checking the result you have to open the page “Extension Management” page and verify whether your desired results shows there.

Hope this post help you more beneficial.
Feel free to ask any doubts on these functionality.


