Table of Contents
Change Log in Business Central
The Change Log in Business Central is a useful feature that allows you to track changes made to data across your system. Whether you’re monitoring adjustments to customer records, inventory, or financial transactions, the Change Log helps maintain an audit trail of modifications. In this post will explain setting up change log and analyzing change log entries.
Why Use the Change Log?
- Audit and Compliance: Keep a record of who made changes to critical data, when the changes were made, and what was modified. This is useful during the yearly audit.
- Troubleshooting: Easily identify errors by reviewing historical changes to data.
- Transparency: Provide visibility into the activities within your Business Central environment. This will be useful when you identify some fields values changed you want to know changed and when. All these information will get from Change Log entries in Business Central.
Change Log Setup
Following are the steps to activate Change Log Setup.
Step 1 : Open “Change Log Setup” Page
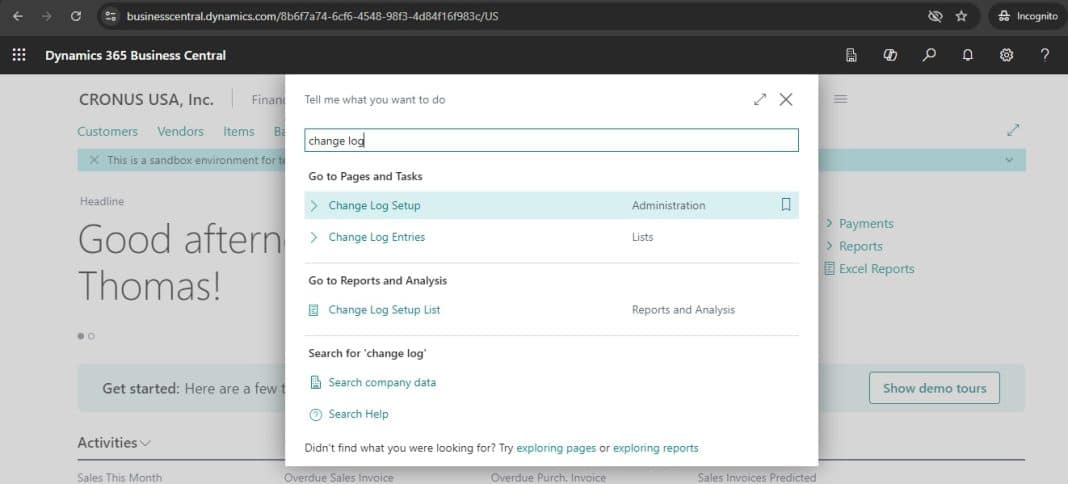
Search “Change log setup” on search option like following
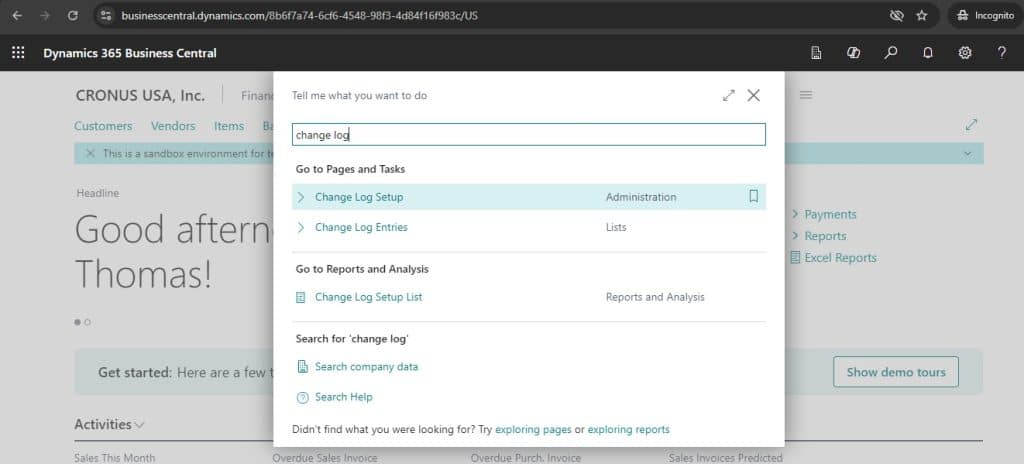
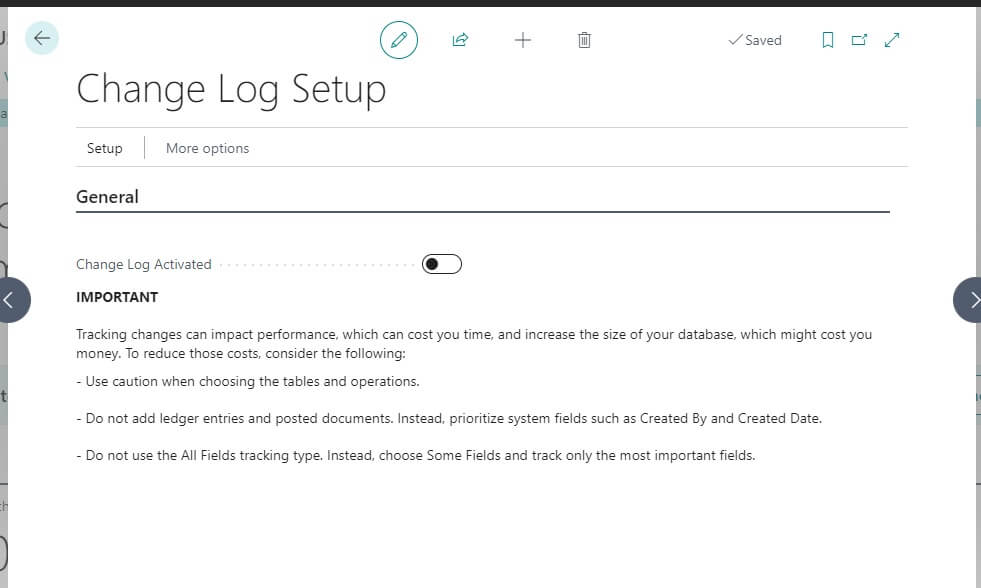
Step 2 : Activate “Change Log Setup”
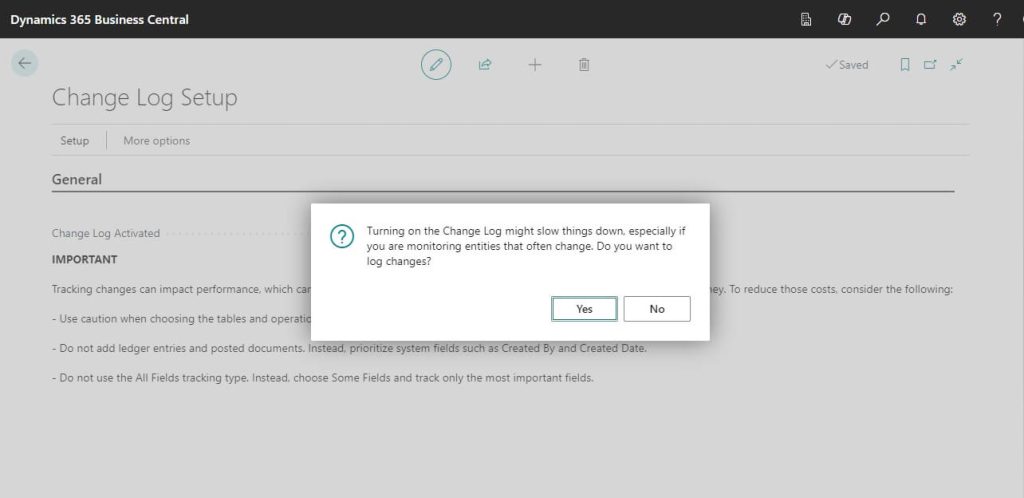
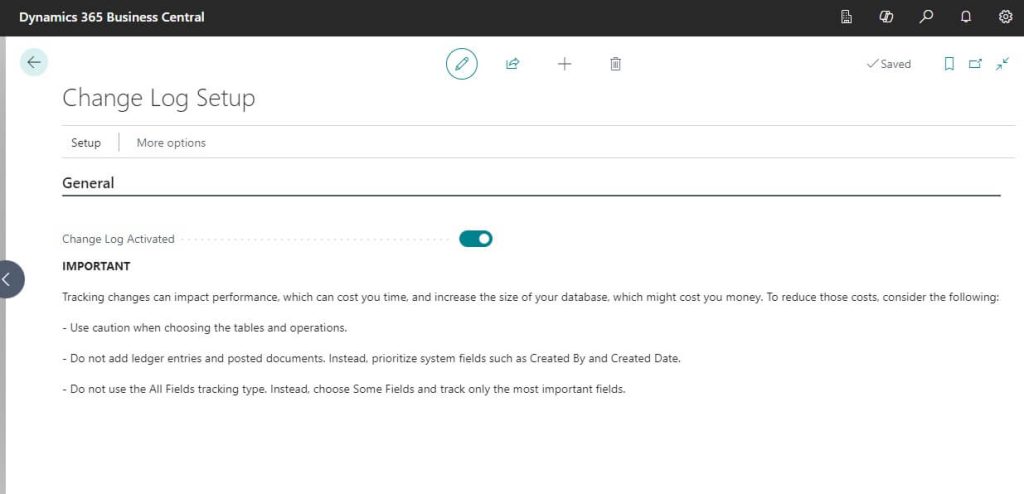
In order to activate the Change Log make sure mark Change Log Activated = TRUE. Once selected this activate then will get following confirmation message. Press “Yes” to complete the activation.
Step 3 : Setup “Change Log Table”
In order to activate change log table/ fields following steps needs to perform.
Click on Action -> Setup -> Other -> Tables to open the setup page.

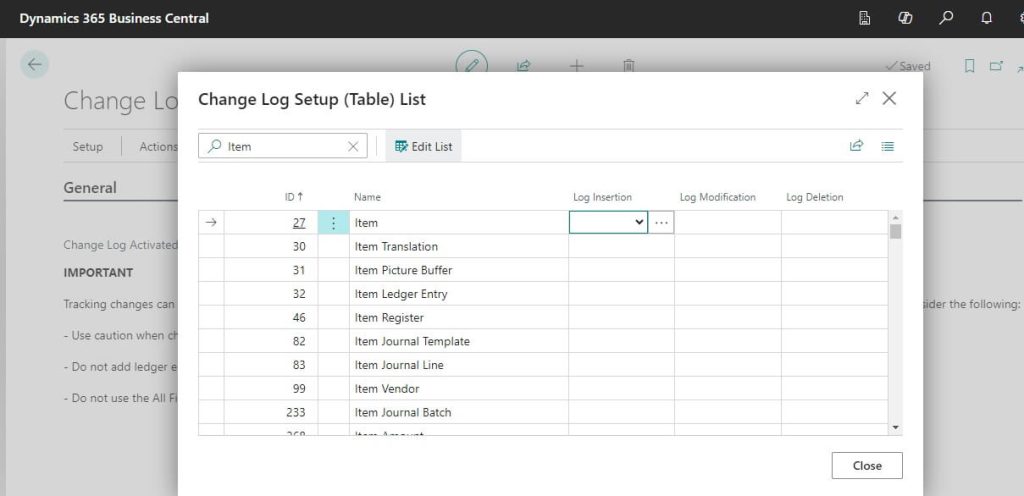
Now select the option based on requirement.
Decision needs to taken based on following conditions
- Change Log Setup activation for selected fields or All Fields.
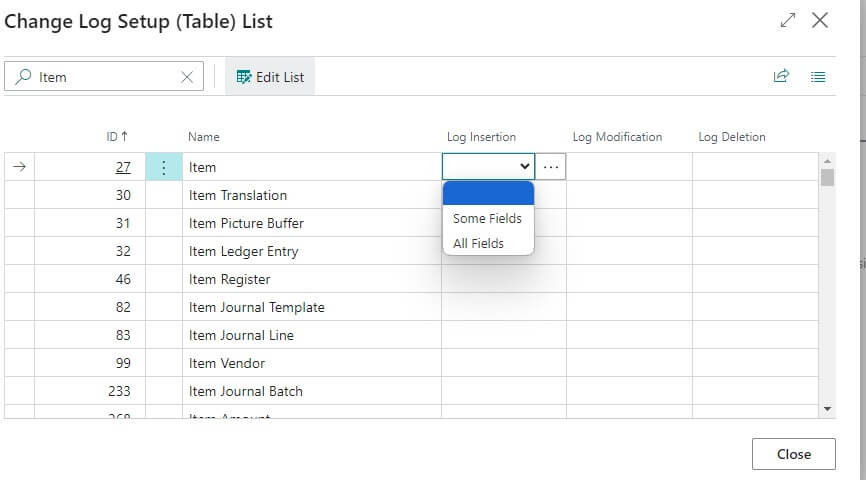
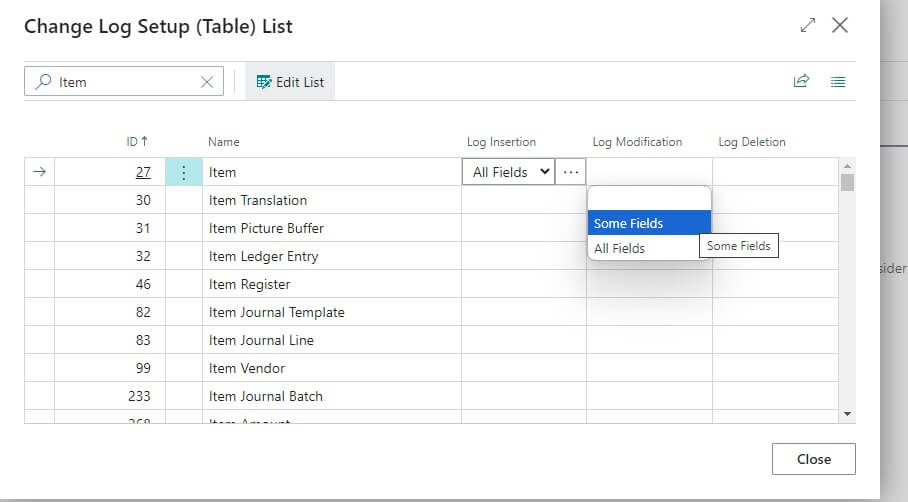
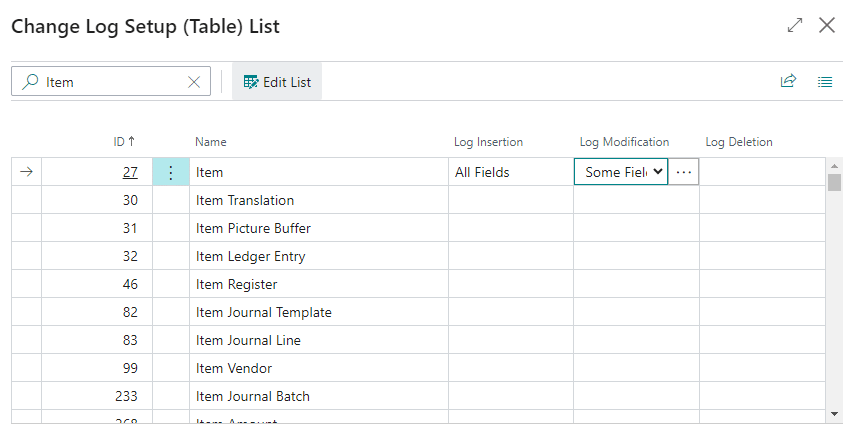
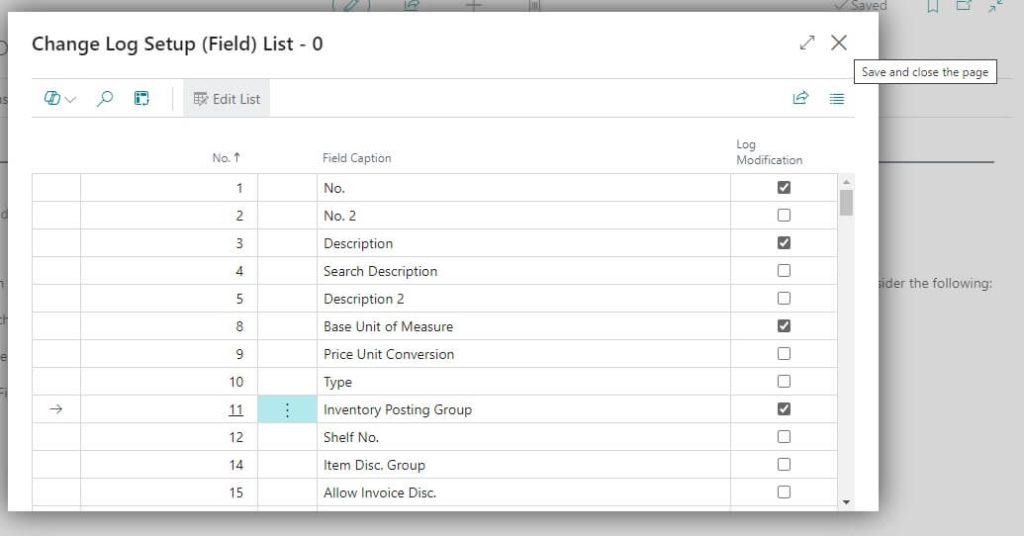
Change table log setup choose the fields you want to activate the change log just like above image. In the above image ‘No, Description, Base Unit of Measure and Inventory Posting Group’ table fields change log activation. For saving this change after setup press Close button in Change log setup page to save in Business Central.
Note: Selection of field like this is possible only for the "Some Fields" option
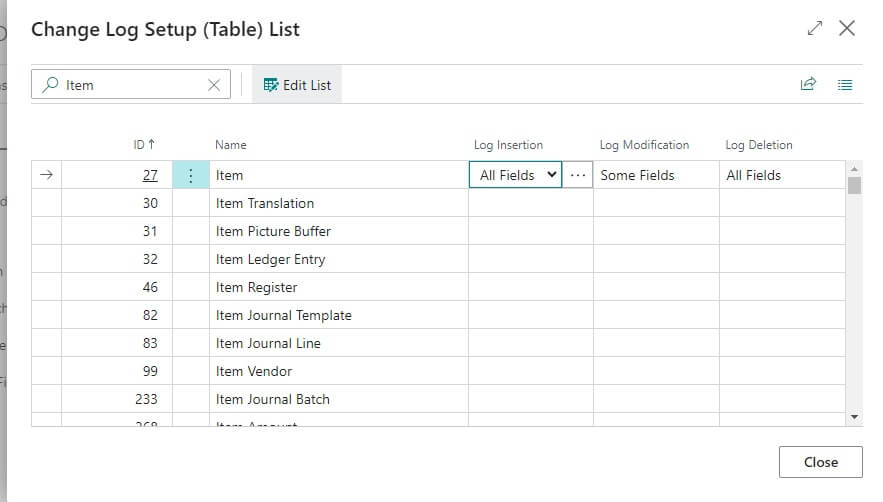
Following image shows sample setup created for Table 27 Item with , Log Insertion with All Fields, Log Modification with Some fields, Log Deletion with All Fields.
Change Log Entries : Result Checking
Following steps shows how to check the change log entries result online.
Modify Records : Change Log Entries : Scenario 1
Changing Item Masters : Scenario 1
Following scenario let us see how system tracking change log when description changes.
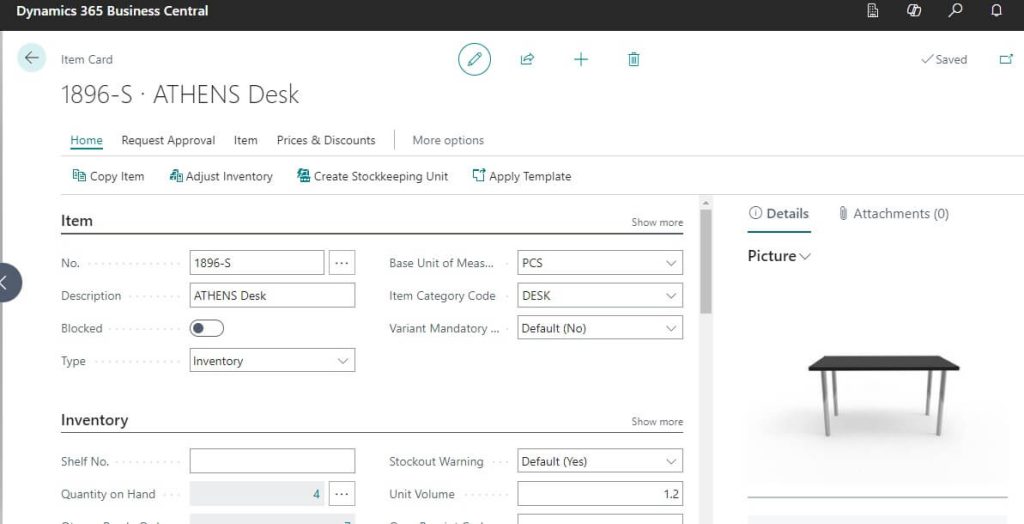
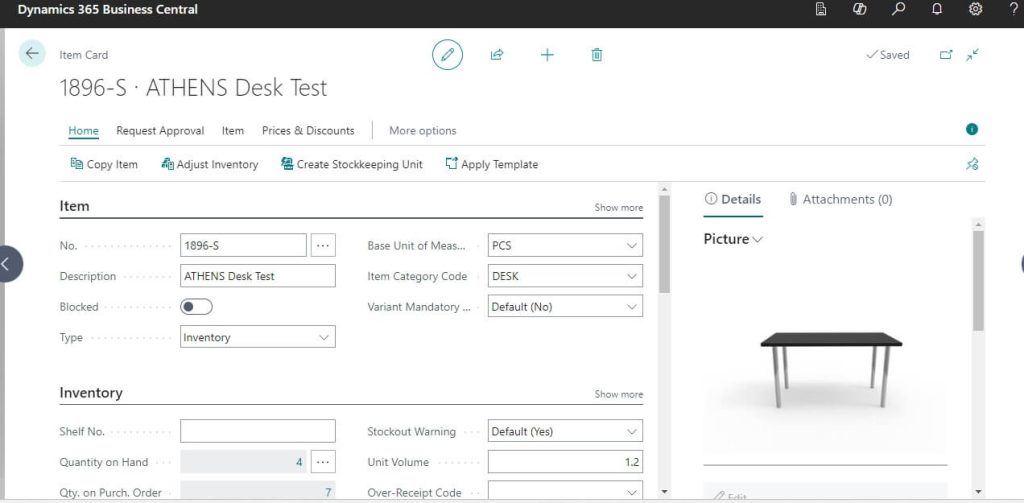
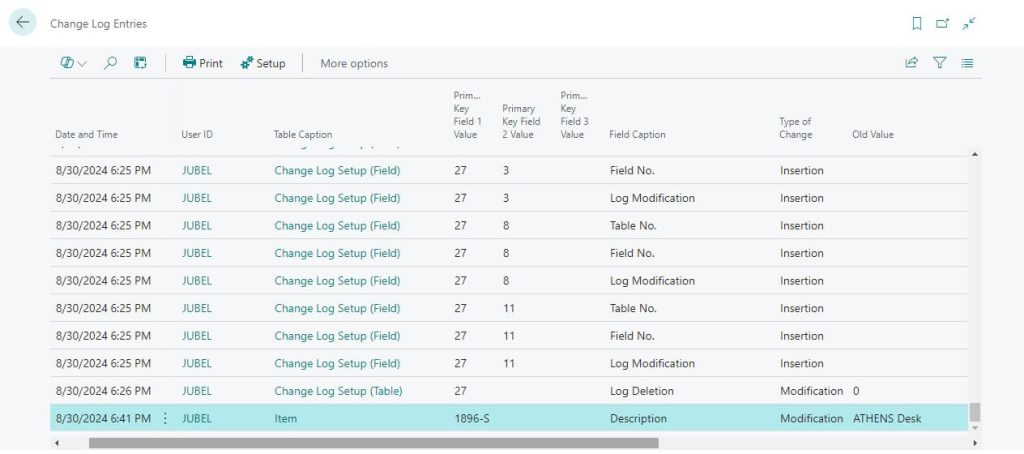
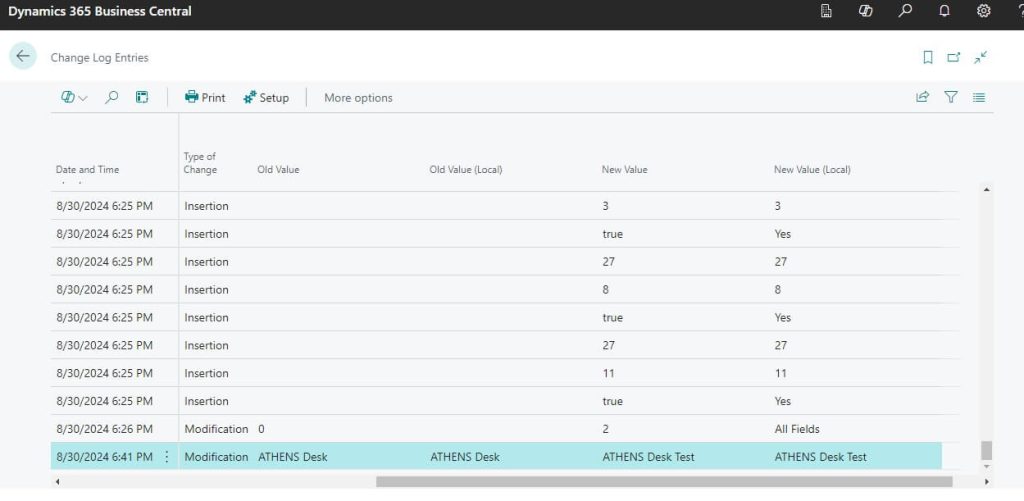
In this case sample Item No 1896-S with Description is changed in the current scenario in system. Now let us see the result after this change.
Changing Log Entries Result : Scenario 1
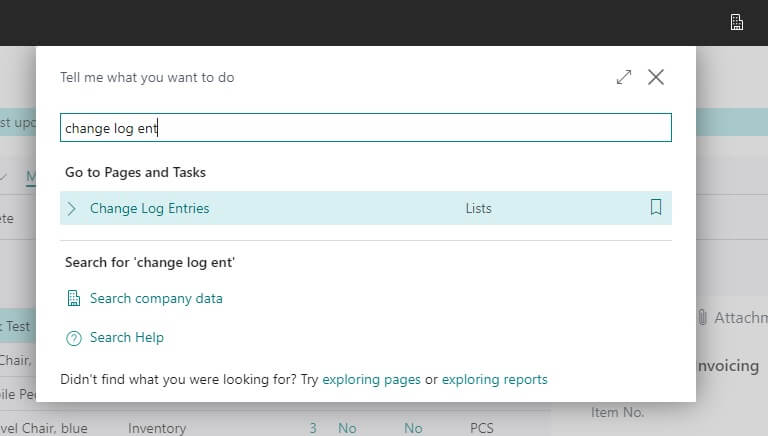
For checking result of change log entries follow below steps
Insert Records : Change Log Entries : Scenario 2
In this scenario let us see how the Inserting new record tracking in system
Inserting Item Master : Scenario 2
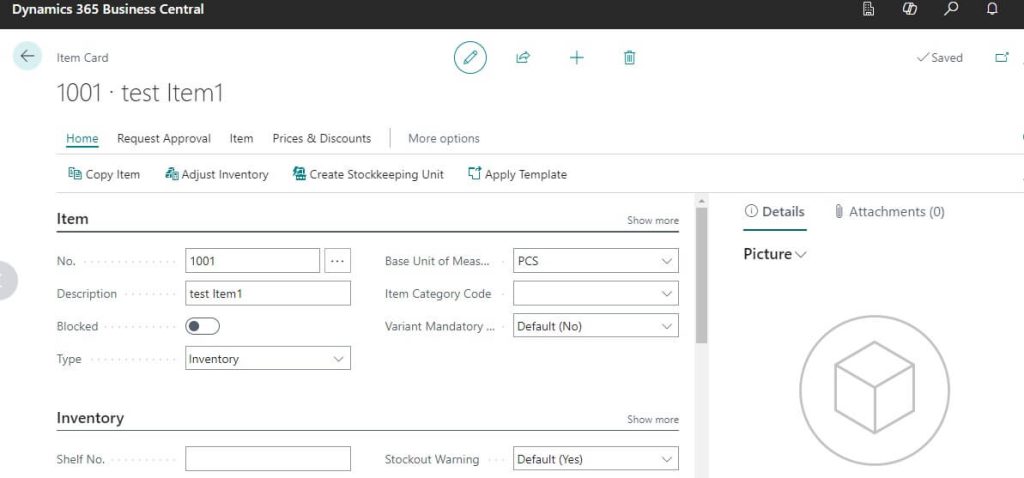
In this example I have created new Item No 1001 with Item Description “test Item 1′
Changing Log Entries Result : Scenario 2
Following are the sample result received when you have created item like above and follow the steps mentioned in this post
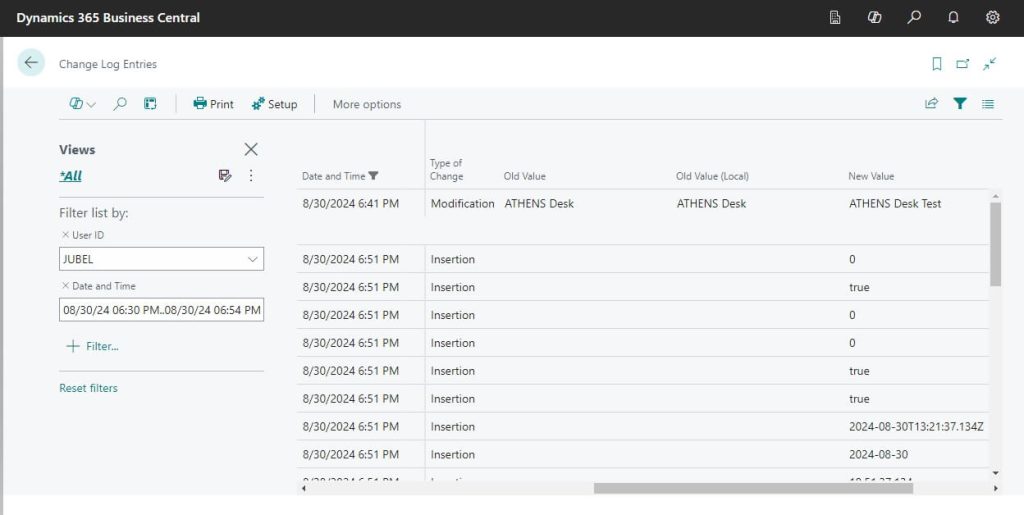
In this example type of change “Insertion” are the records are created for the scenario 2 performed.
Simple right.
Thanks for reading. Hope this helps.


